
|
Milton Train Works™Custom kits and custom models |
A proud member of |
|
This handsome custom kit builds a mid to late 20th century US prototype Diesel Electric Switcher. It does not follow any specific prototype exactly but I was heavily influenced by EMD and to a lesser extent, Alco, switchers. The design of a switcher has remained relatively unchanged for 60 years, so this model can represent both early and late model units. Further, since switchers tend to last a very long time (even by railroad standards where 30 year engine lifetimes are not unheard of) this unit will be at home in settings as diverse as on a transition era layout, a second generation engine facility, or even a modern hi-cube/container flat yard. |
|
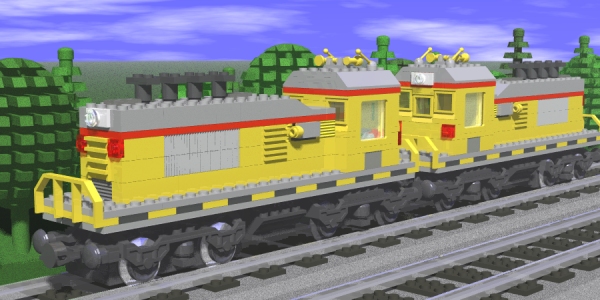
Instruction Cover shot (note: Sorry, you only get parts for one switcher) |
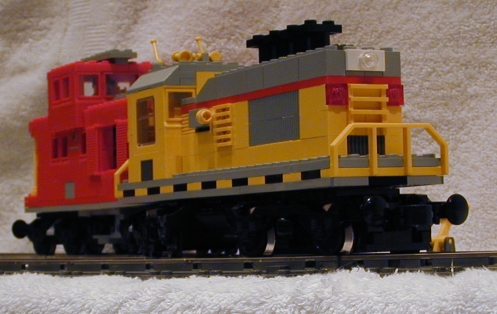
Three Quarters Nose View (unit runs this way for road work) |
|
Switchers have a long and glorious (?? grin) history. Many railroads bought switchers before they bought any other sort of diesel, figuring that a unit that never strayed far from home and that did not have a heavy workload (and thus did not need a lot of power, some units were as small as 600 hp) would be a good test of this new diesel technology. By the mid 1930s many roads had them, and switchers that looked essentially like this model were available from EMC (later EMD after GM bought it). Switchers varied in power from 600 hp to 1500 hp or so. Many were fitted for road unit duty with additional classification lights. MU hoses, anticlimbers, etc. but many lived out their lives shunting cars on large industrial estates, working flat and hump yards and performing other sorts of switching duty. I know you'll enjoy building this model and operating it on your layout. |
|
Some of the features of this diesel electric switcher include:
|
|
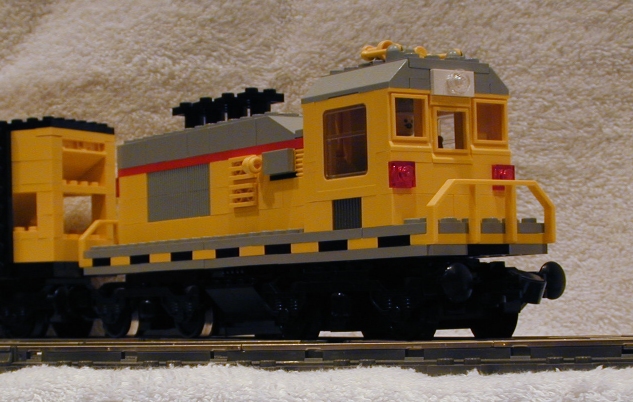
Cab end view (operates this way when switching so engineer can see brakeman and coupler 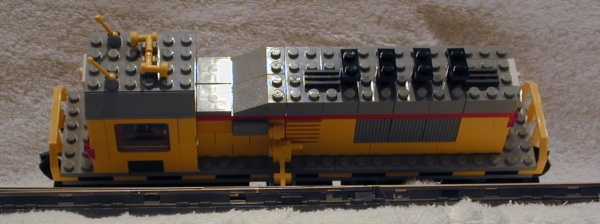
Roof details |
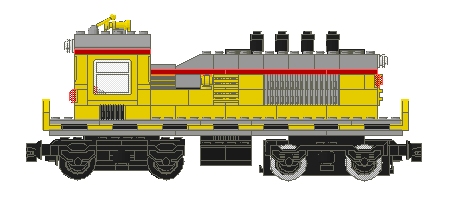
Instruction Source Image |
|
As with all Milton Train Works models, you get a fantastic set of instructions, featuring cropped views, cutaways, rotations and other nuances to make this a fast and fun build. These instructions, while not TLG quality, are thorough and accurate, and will allow you to quickly and correctly assemble this set. You will receive a high quality printed or photocopied set of instructions, as well as all the required parts to create one unit. Time permitting I intend to include additional parts to allow you to model a single notch version, an MP1500 with front bump, and a notchless hood version. The instructions will include alternate images to suggest how these versions can be achieved. |
The instructions and documentation feature:
These instructions were created with MLCad, an LDraw compatible CAD modeling program especially designed for use with LEGO® and compatible elements. After the painstaking transcription, I checked the instructions for accuracy, generated the parts list and printed them on my HP 2100 Laser printer, ensuring that you get the sharpest instructions offered by any limited run custom LEGO® kit producer on the market today.
|
You will be the person that decides on the final color scheme of your model. I will be offering MTW-2001 in at least 5 "canned" color schemes. I decided to start with the UPish model, although the yellow windows it needs make it the model with the smallest production run unless I can source more. For that reason I expect it to be the most popular. |
|

Stablemates |
|
|
|
|
But the way this actually will work is that you will choose the color you want for the upper, stripe, and lower portions of both the cab AND the hood (6 choices in all) which will allow almost infinite variations. You will visit a link to select what you actually want after you've bought your unit from Bricklink. You will need your Bricklink order number and your preferred email address. |
Some other color schemes that you can create (or order by shorthand) are shown here:
I am willing to discuss other colors for sections (Not shown on the selector) depending on parts availability.
This picture shows a stable mate (the not currently available CNW color scheme) to show how well these units look MUed together. The SW has been designed to look and operate well on the tiny radius LEGO® curves we all use. You'll have a lifetime of operating fun with this baby.
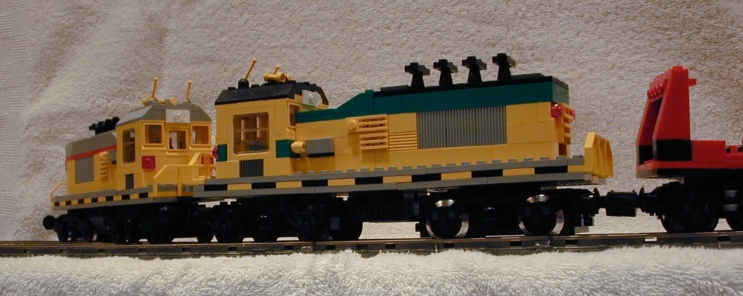
UP/C&NW units in tandem (must be right after the merger)
An excellent reference guide to switchers is Yard Limit. Much material was drawn from there and other sources. (try a yahoo search for SW9 Photo, you'll get some interesting hits and very interesting misses). I used this data "after the fact" to justify my design and color scheme choices.